Fourgreenfields (talk | contribs) (formatting changes; added illustration image for propeller drag) |
Fourgreenfields (talk | contribs) (→Hulls/Drag/Propulsion: front/back drag of propellers was changed) |
||
| Line 15: | Line 15: | ||
** From the Depths' drag model is quite simple. It looks at the front-most block in each m², potentially checks if it is blocked (for slopes, wedges, and corners), and then uses the drag of that side of the block. The "drag coefficient" is the sum of all those (length also plays a part, but unknown how exactly). |
** From the Depths' drag model is quite simple. It looks at the front-most block in each m², potentially checks if it is blocked (for slopes, wedges, and corners), and then uses the drag of that side of the block. The "drag coefficient" is the sum of all those (length also plays a part, but unknown how exactly). |
||
*** Exceptions to that include [[Wing]]s and [[Rudder]]s. Placing a high-drag block behind them will cause the higher drag to apply (but no longer the lower drag of the rudder/wing). |
*** Exceptions to that include [[Wing]]s and [[Rudder]]s. Placing a high-drag block behind them will cause the higher drag to apply (but no longer the lower drag of the rudder/wing). |
||
| − | ** Most blocks generate full drag. This includes |
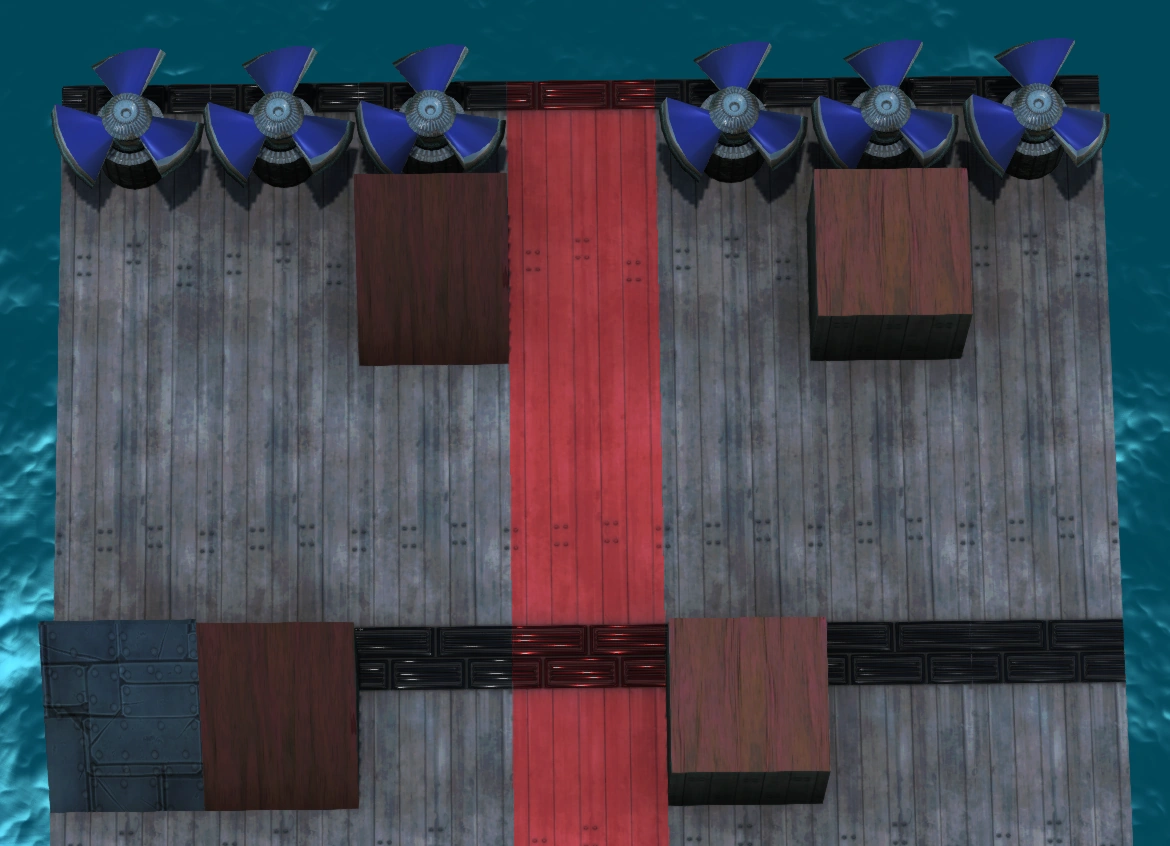
+ | ** Most blocks generate full drag. This includes the sides of [[Propeller]]s – Make sure yaw and roll thrusters have slopes in front of them whenever possible. [[File:Drag Propeller-Example.png|center|600px|All three m² on the left generate the same drag (0.4, the drag of a 1m slope). All three m² on the right generate full drag.|thumb]] |
** It is possible to enable the drag on the HUD in the options (Vehicle Info, bottom-right "drag"). This will allow you to see how block-placement affects drag. Additionally, while in build-mode shift + P cycles through several views, one of them can show the drag of each block. |
** It is possible to enable the drag on the HUD in the options (Vehicle Info, bottom-right "drag"). This will allow you to see how block-placement affects drag. Additionally, while in build-mode shift + P cycles through several views, one of them can show the drag of each block. |
||
* Excessive use of [[Heavy Armour]] |
* Excessive use of [[Heavy Armour]] |
||
Latest revision as of 12:02, 10 June 2020
| This article is a stub. You can help From the Depths Wiki by expanding it. |
A "noob trap" is a game mechanic that often seems useful to new players ("noobs"), while actually being inefficient or even incapacitating. It may also refer to mechanics that may seem intuitive to build a certain way, even if they actually work differently (e.g. the fact that Huge Propellers generate full drag, so they shouldn't stick out at the bottom).
Noob traps in From the Depths include:
Hulls/Drag/Propulsion[ | ]
- Enabling thruster balancing on the AI.
- It is inefficient at balancing thrust, often turning thrusters off that do not cause any problems. The best case is that it doesn't do anything.
- You're better off noticing that the vehicle flips, so you can e.g. use active stability, which will lead to increased speed compared to turning thrusters off.
- Placing Rudders on the bottom of the ship.
- They do not need nor profit from clearance front, so you can place them on the stern (rear) just fine. Placing them on the keel (bottom) of a ship will almost always cause very significant rolling when attempting to turn.
- Needlessly placing blocks in a way that causes high drag.
- From the Depths' drag model is quite simple. It looks at the front-most block in each m², potentially checks if it is blocked (for slopes, wedges, and corners), and then uses the drag of that side of the block. The "drag coefficient" is the sum of all those (length also plays a part, but unknown how exactly).
- Most blocks generate full drag. This includes the sides of Propellers – Make sure yaw and roll thrusters have slopes in front of them whenever possible.
- It is possible to enable the drag on the HUD in the options (Vehicle Info, bottom-right "drag"). This will allow you to see how block-placement affects drag. Additionally, while in build-mode shift + P cycles through several views, one of them can show the drag of each block.
- Excessive use of Heavy Armour
- While space-efficient, it is both cost-, and weight-inefficient. Several metres of Metal will usually be the better choice, providing more protection for the same weight and cost.
- Only use Heavy Armour if you need low volume armour.
- Using V-shaped hulls (sometimes called just V hulls)
- The V describes the cross-section when viewed from front, not the bow's (front's) shape. This generally leads to a high centre of mass, which reduces stability (the boat will be likely to roll on its side). On top of that, it reduces internal volume.
- Box hulls (rectangular), or a wide U-shape will lead to better stability and usable volume. A high beam (width) will also improve stability.

Advanced Cannons[ | ]
- The excessive use of the 6-Way Connector (APS).
- Autoloaders can connect to Gauge Cooling Units and Gauge Increase (APS) blocks and to other autoloaders. Laser Targeter (APS), Hydraulic Recoil Absorbers, etc. can all connect to them as well. If you place the gauge snake right, you can almost always connect everything to it, not wasting space on dedicated connectors.
- One exception are powerful railguns. Their need for huge amounts of Railgun Chargers can make 6-way connectors necessary.
- Proximity Fuses for Advanced Cannons.
- Unlike their Missile-counterpart, they only check directly in front of the shell – if the proximity fuse triggers the shell, it would likely have been a direct hit anyway. A timed fuse with a Laser Targeter (APS) will yield better results if you want the shell to explode near the target.